
Follow these steps when you are ready to run your Billing and upload an Invoice flat file to the DODD website.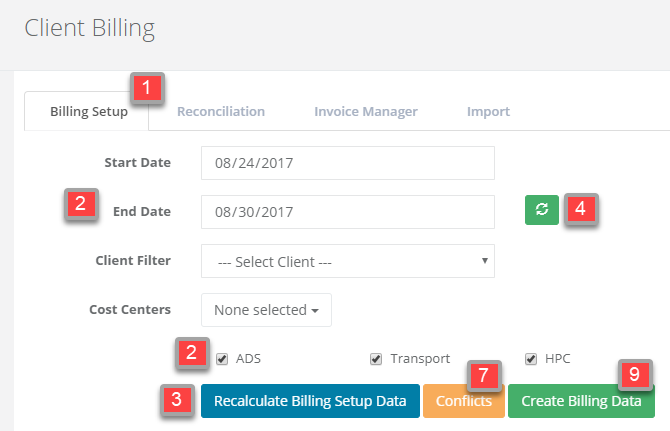
- Go to the Billing Screen and select the 'Billing Setup' tab.
- Set the dates and filters.
- Click the 'Recalculate Billing Setup Data'. This may take a few minutes, depending on the number of billing records that need to be processed. This will ensure that all attendance, HPC, and transportation data is synchronized with the billing setup data.
- Click the 'Refresh' button.
Note: the data on the Billing screen is not the actual billing data. It is referred to as the "setup" data because it contains only unit rates and codes (no daily) and might also include the same code/service for the same client on the same day. - Check the Warning Log.
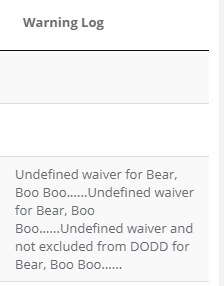
Each individual record has a Warning Log, and a summary of all Warnings is also displayed at the bottom of the screen.
Tip:
All warning log messages are also displayed at the bottom of the screen. If there are several messages that need attention, copy this text to the clipboard and paste it somewhere (notepad, Word, etc.). When you change screens to fix these issues, you will have a list of all problems in another window for reference.
Note: any record that has a Warning will NOT be included in the Invoice flat file. The Invoice can be created with Warnings, but those records will be excluded. - Fix any problems identified in the Warning Log.
For example, let's say the waiver was setup incorrectly. Go to the Client Information screen and change the waiver. - Click the 'Conflicts' button (if you have Non-Medical transportation and DayHab/VocHab).
This will check for conflicts between attendance and transport routes. If a client is in one and not the other (and scheduled to be), a conflict will be displayed. If you have conflicts, then fix them. - If you had any warning logs or conflicts that needed corrected, then Click the 'Recalculate Billing Setup Data' once again.
- Click the 'Create Billing Data' button.
- Go to the Reconciliation tab.
- Click 'Refresh'. Note that the dates will already match what you set in Billing Setup.
- Check the "Total To Be Billed" amount:
- Run the 'Billing Flat File Preview' report. It's recommended that you save a copy of this report as part of you permanent records.

- Click 'Create Invoice'.
- Browse to the folder where the Invoice flat file is to be saved.
- Click 'Save' and save the invoice flat file to your invoices folder.
- Go to the DODD website and upload the Invoice flat file.

- Go to the Invoice Manager tab, select the latest Invoice and click 'Upload Successful'.
It is also recommended that you enter the DODD Reference number and click 'Save Changes'.