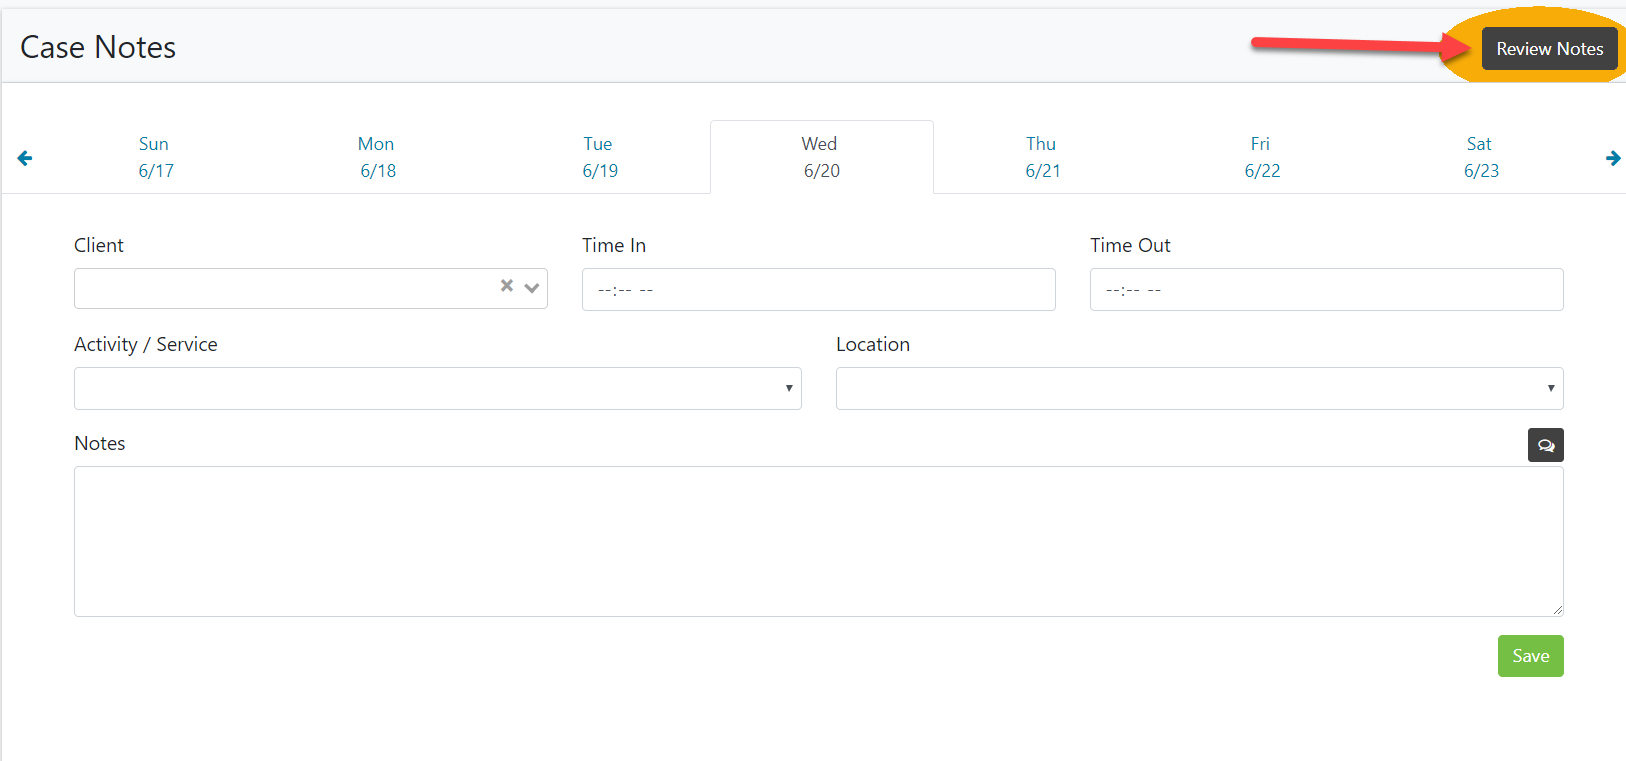
In this article, we will go over the "Review Case Notes" function. To get to Review Case Notes, you need to first be in the Case Notes tab and then click on the "Review Notes" button in the top left section of the screen. From there, we can see the Review Case Notes screen.
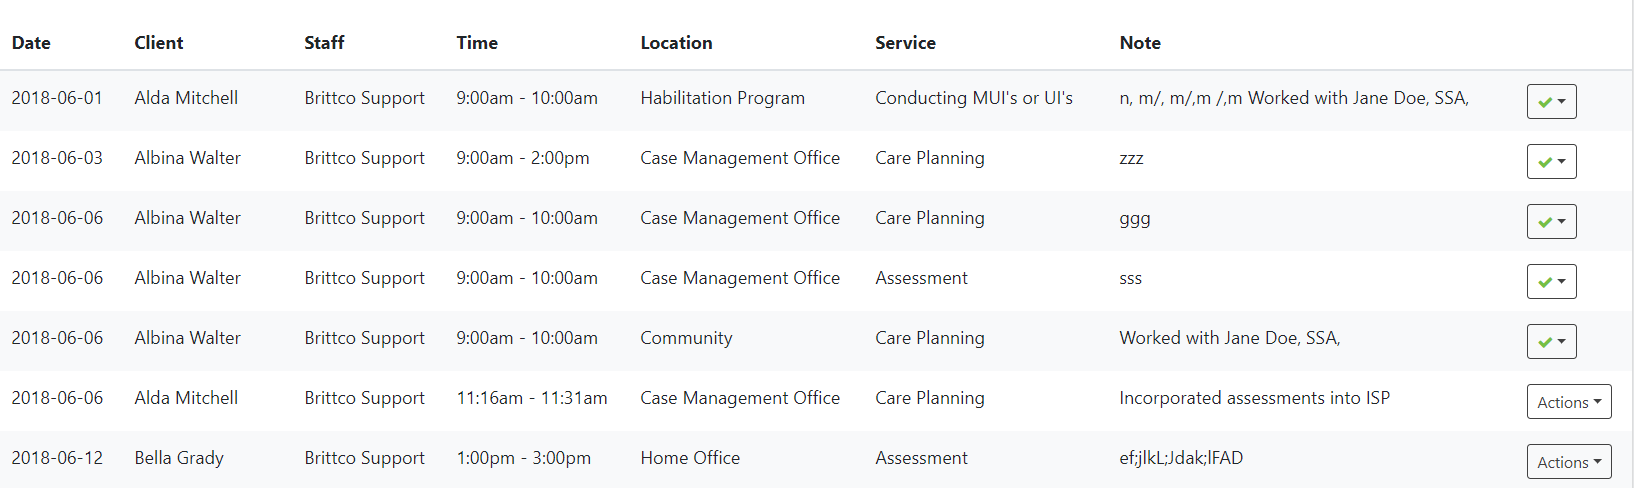
The bottom half of the screen is a list of all the case notes created. It is ordered by oldest to newest. On the right side of the screen there is green check mark. The green check mark shows that the case note has been approved. If the case note has been rejected then there will be a red 'X' that will have a note on why the administrator rejected the case note. This function is optional.
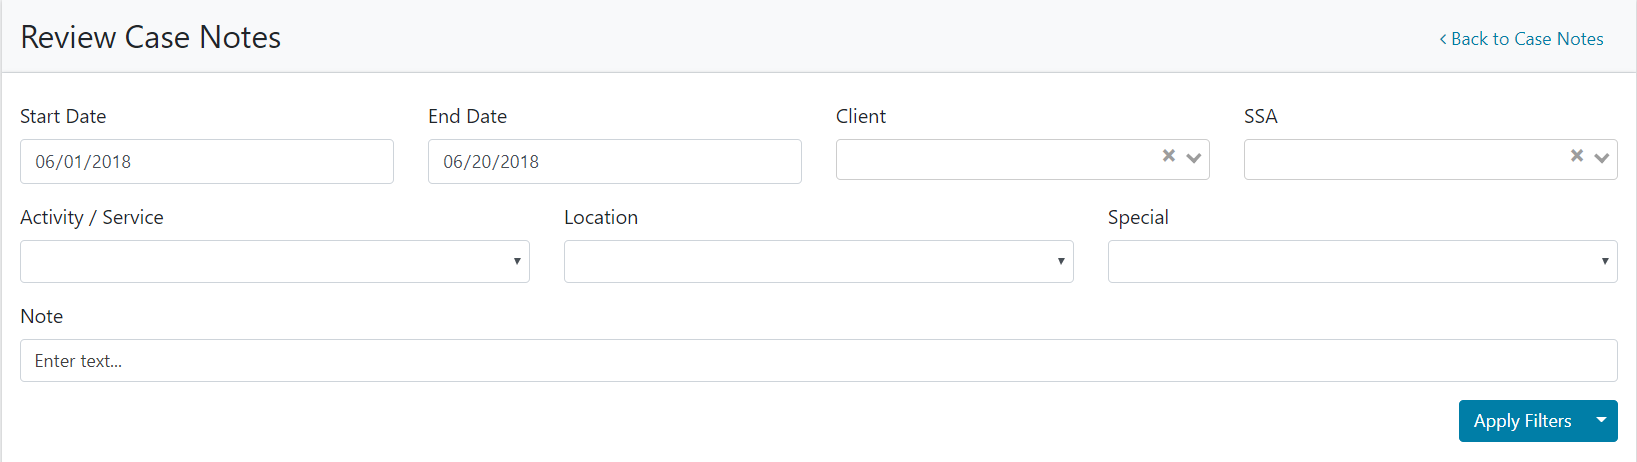
At the top of the screen is where filters are applied. The fields here are the same as they are in the Case Notes screen. The Special field goes over overlapping times and services. To find a specific case note, you can filter through any of these fields to find the particular case note.