This article will go over how to add a client image.
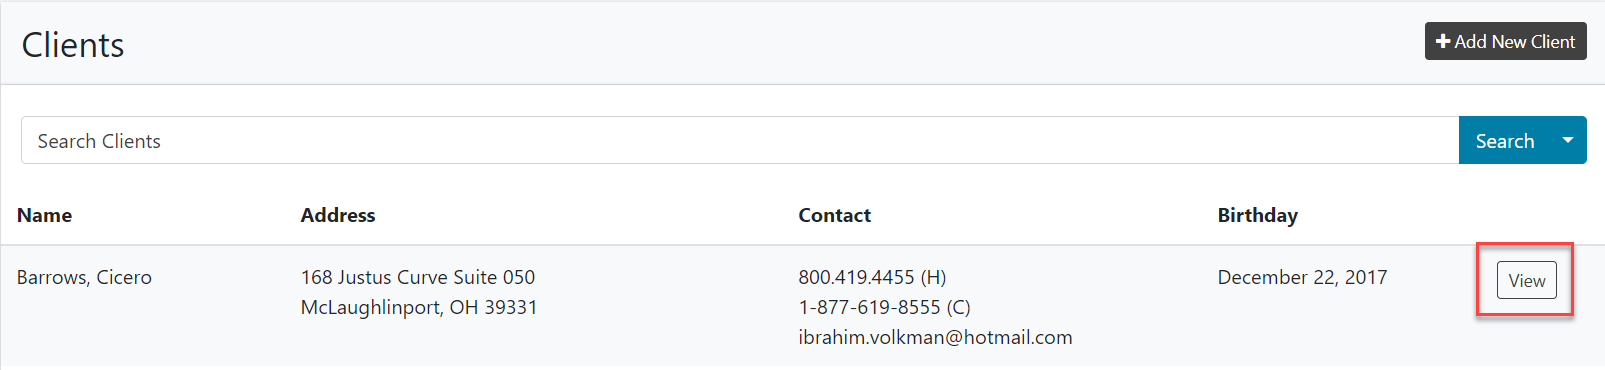
Start by clicking on the 'View' option on the ride side of the client screen on the main Clients tab.
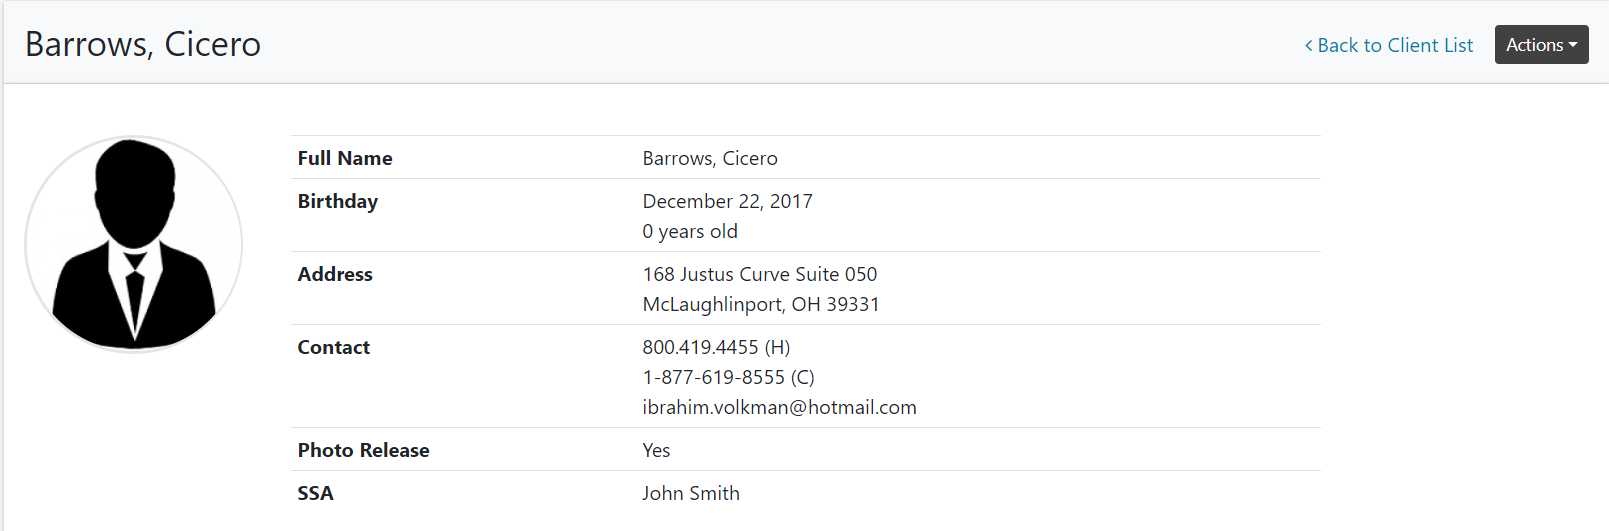
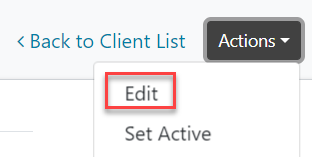
Clicking the View button will open a more detailed client information screen about the selected client. Click the 'Actions' drop down arrow and select Edit as shown below. The Edit tab will allow us to change client information.
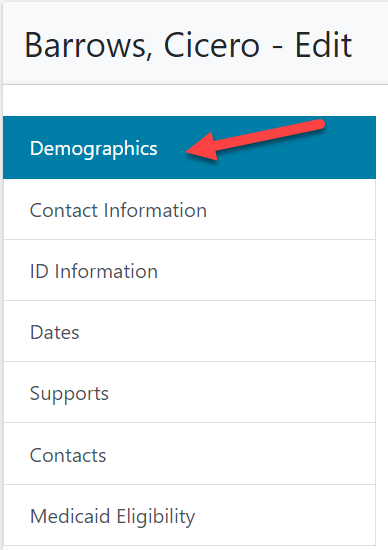
The edit options are listed below. Select the Demographics tab. This is where we will edit the client image. Scroll all the way to the bottom of the screen.
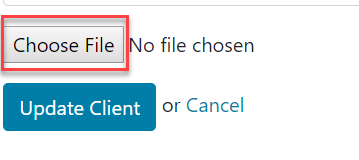
At the bottom of screen will be a 'Choose File' option shown below. Select the 'Choose File' option to select an image for the selected client.
The screen below will pop up when choose a file. Here we navigate to where the image is saved, select it, and open.

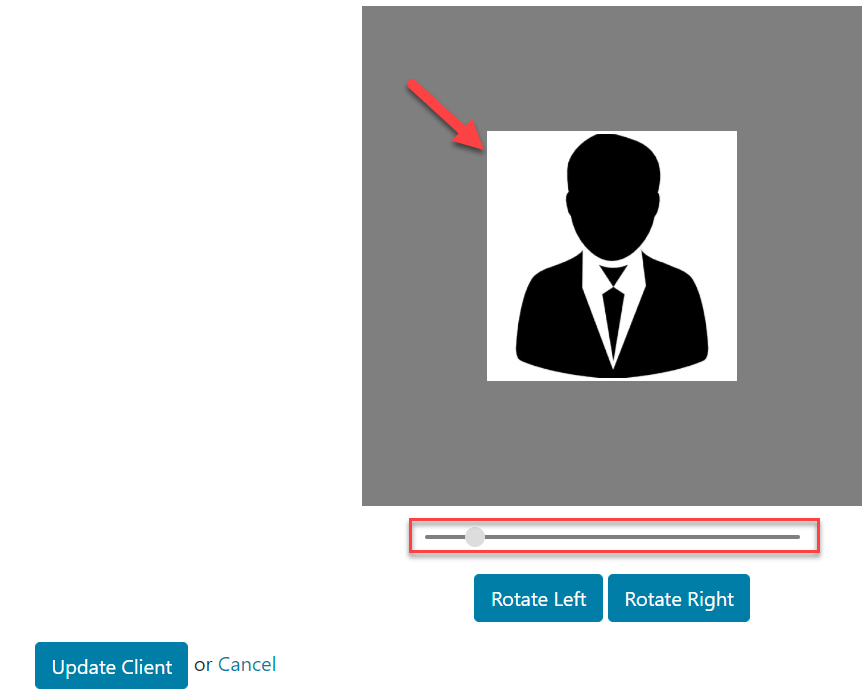
We will need to crop the image it have it fit appropriately. You can scroll with a mouse to resize the image and click to move the image. There is a zoom scroll right below the image to help with the resizing of the image. You can also rotate the image if it needs to be flipped. When the changes are made, click the 'Update Client' option to add the image.
Below is what the final product will look like.