
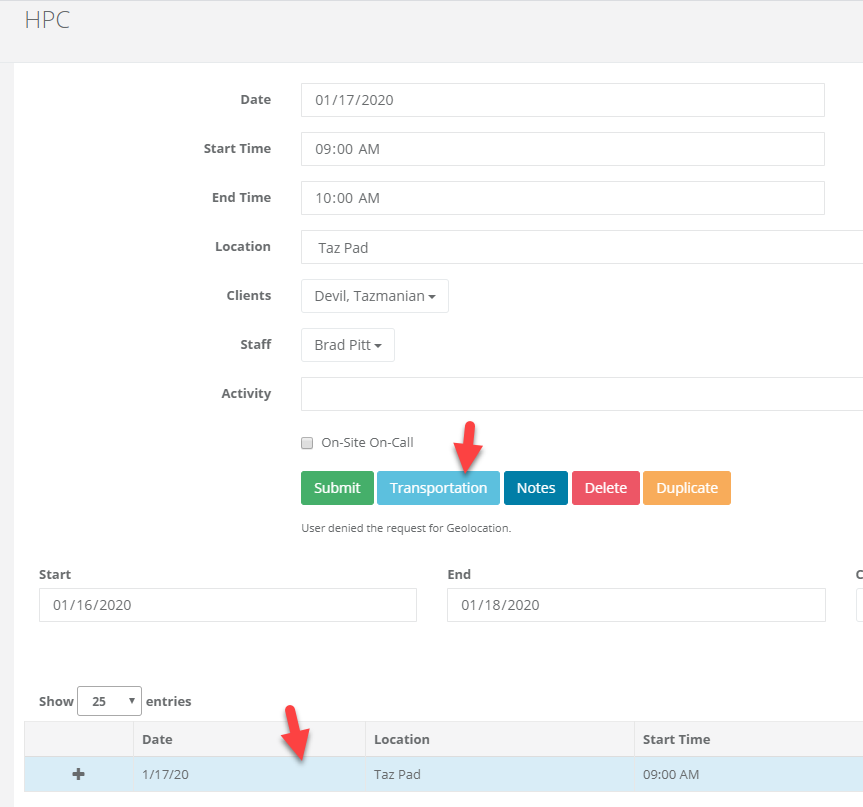
Below is a screenshot of the HPC screen. The light blue 'Transportation' button will not be "clickable" until you have selected an HPC Activity that has already been entered.
1. Select an HPC Activity.
2. Click the 'Transportation' button.
The HPC Transportation dialogue box will appear. If there had been any previous information already entered and saved, it will be displayed. Otherwise, all fields will be blank EXCEPT for the Vehicle. That will automatically be populated with the Vehicle that had been entered on the most recent activity.
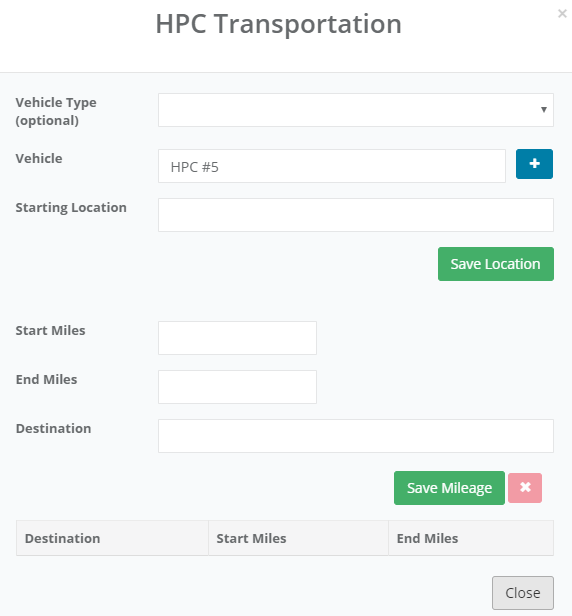
3. Choose the Vehicle Type (Company or Personal). This is optional.
4. The Vehicle must be selected. It will be populated with whatever vehicle was entered in the most recent activity. If you want to change the vehicle, just start entering a couple of letters and a list of Vehicles will be displayed from which to choose.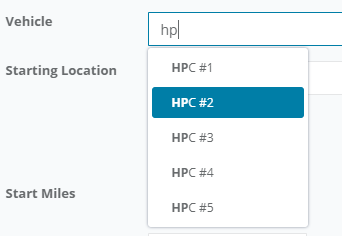
5. Enter the Starting Location. (Required)
6. Click the 'Save Location' button. This will save the Vehicle Type, Vehicle, and Starting Location.
7. Enter the Start and End Miles. This could be 0 to 10 miles, for example. Or, the odometer readings at the start and end of the trip.
8. Enter the Destination. (Required)
9. Click the 'Save Mileage' button.
For additional trips, repeat steps 5-9.
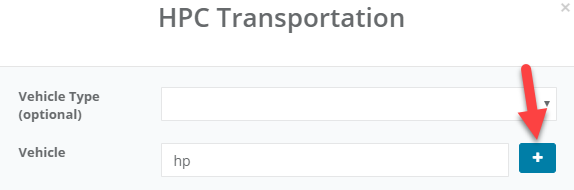
Adding a Vehicle
If your vehicle is not in the list from which to choose, you may add it yourself.
1. Click the 'Add Vehicle' button (the + button).
2. Enter the Vehicle Name and the License Number. Both of these fields are required.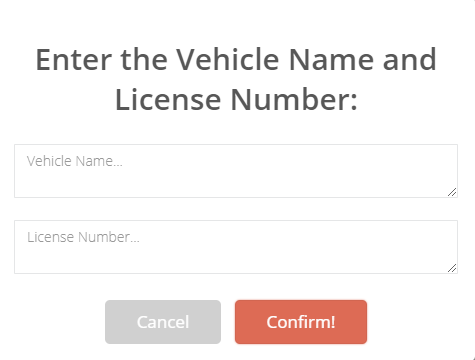
3. Click the 'Confirm' button.
Now the newly added Vehicle will be available in the Vehicle list.
Note to Administrators: When a vehicle is added from the HPC screen, it is automatically set as an 'HPC' vehicle so it can be found using the 'HPC' filter on the Setup menu. If the vehicle is "Modified", this setting will have to be done on the Setup screen.